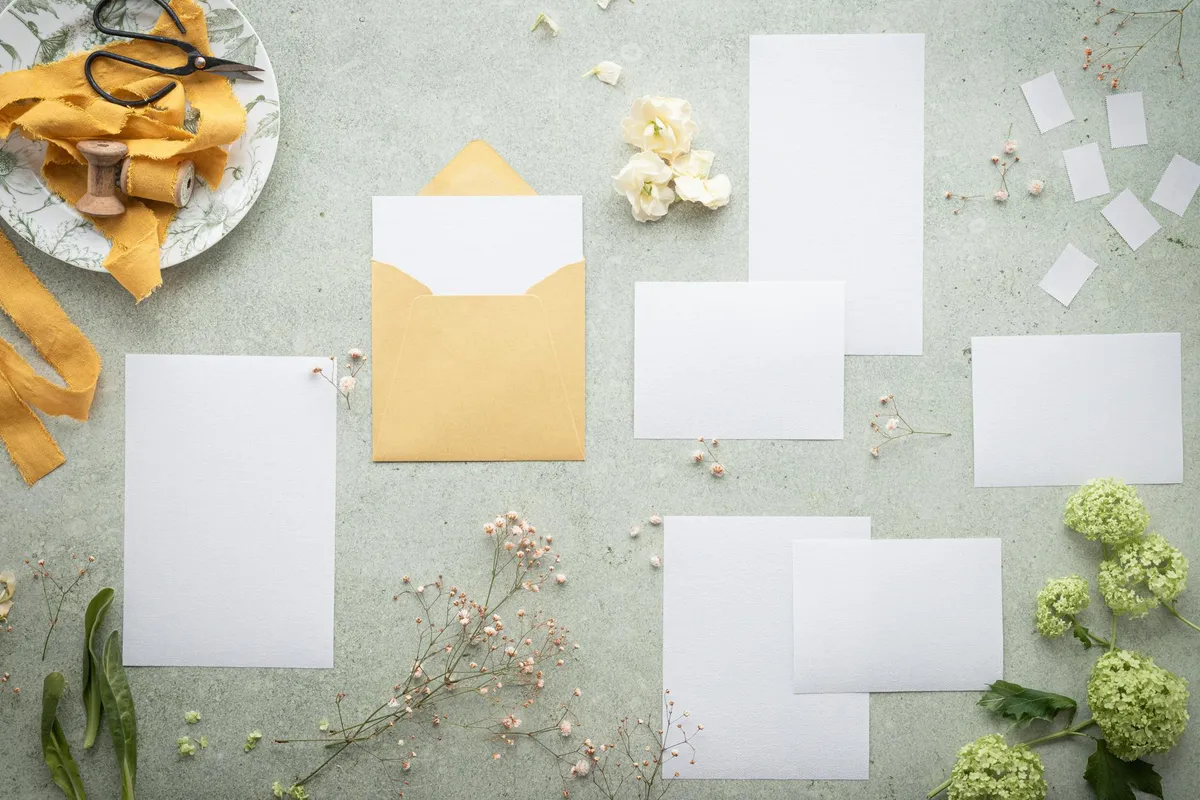
A well-executed DIY wedding invitation is not a compromise. Done with care, it carries more personality than most professionally-printed suites — partly because the constraints of doing it yourself force restraint. Below are five templates that consistently work, plus the practical guidance for printing them well.
1. The single-card minimalist
One A6-size card. Names large in a refined serif. Date, time, venue beneath in small caps. RSVP via email. No flourishes. Print on 300gsm warm cream cardstock at any local print shop or from home on a quality printer. Cost: around $1 per invitation. Visual impact: high.
2. The folded letter format
A single A4 sheet, folded once, printed double-sided. Front: names and date. Inside: longer letter to the guests in the couple's voice. Particularly strong for couples whose voice is part of who they are as a pair. Cost: around $1.50.
3. The handwritten card
Print only the venue map and a short line of formal information. Hand-write the rest — names, dates, the personal note. Best for weddings of forty guests or fewer. Time-consuming but the result is irreplaceable.
4. The colour-block
Solid block of one colour (sage, terracotta, dusty mauve all work) on the top half. Type on the bottom half. Easy to design, easy to print, hard to make look bad. Strong choice for couples without design instinct.
5. The vintage-postcard style
Designed to look like an actual postcard from somewhere — a place that matters to the couple, a vintage hotel, a holiday city. Stamps printed on the design rather than affixed. Sent as actual mail.
How to print at home without it looking printed-at-home
Paper weight matters more than printer. Even a basic inkjet on 300gsm cardstock outperforms a fancy laser printer on 200gsm. Stock weight is the single biggest tell.
Round the corners. A simple corner punch ($15 from any craft shop) elevates a home-printed card from "homemade" to "considered." Trim cleanly with a guillotine, not scissors.
Test print before committing. Print one. Look at it in different light, hold it next to a magazine, address it and put it in an envelope. The thing that looks fine on screen often looks slightly off in the hand.
Add weight with envelopes. An ordinary card in a beautiful textured envelope outperforms a beautiful card in an ordinary envelope. The first thing a guest touches is the envelope.
What to outsource even on a DIY budget
Calligraphy on the envelopes, if you can afford one quality vendor. Hand-addressed envelopes carry the entire suite. The cost — usually $2-4 per envelope from a freelance calligrapher — is the highest-leverage spend in the entire DIY budget.
The mindset that gets the result
DIY invitations work when the couple is making something specific, not when they are trying to fake a printed suite at lower cost. Lean into the texture, the slight imperfection, the personal note. Those are the qualities a professional suite cannot replicate. Use them.